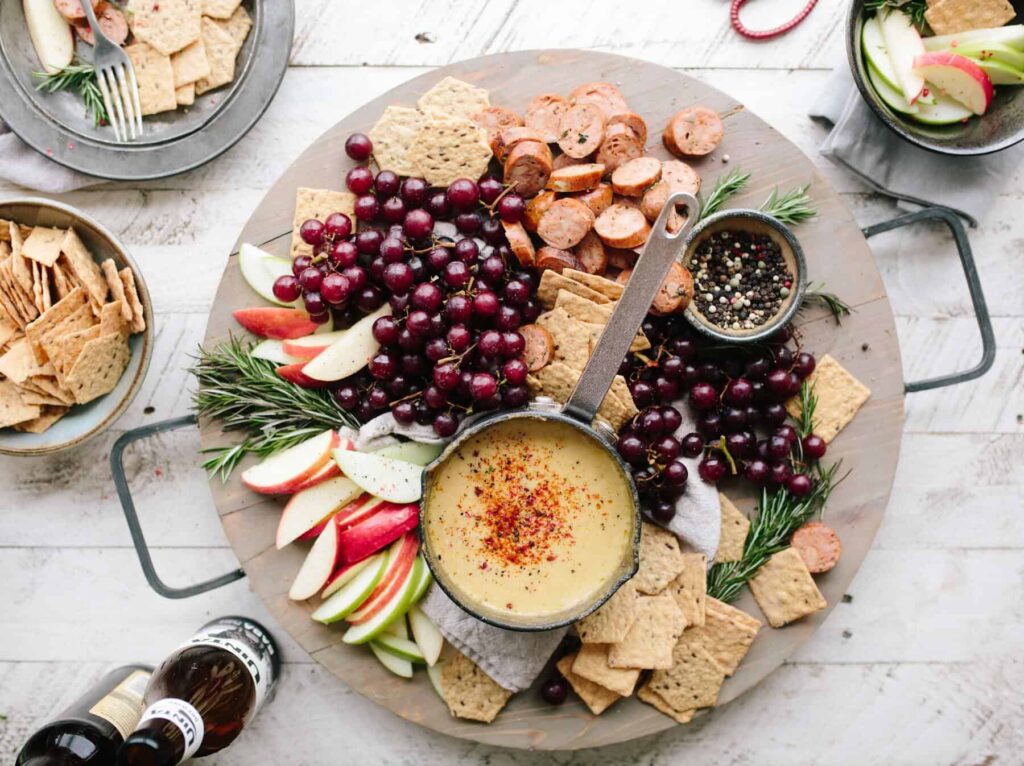
A charcuterie board isn’t just food – it’s an experience. Originating from France, charcuterie (pronounced “shahr-koo-tuh-ree”) traditionally focuses on cured meats, but over time, it has evolved into a beautifully curated selection of cheeses, meats, fruits, nuts, spreads, and breads. Perfect for parties, holidays, date nights, or even a casual evening with friends, a well-crafted charcuterie board is as visually appealing as it is delicious.
The secret to a perfect charcuterie board lies in balance – balancing flavors, textures, and colors to create a spread that excites both the eyes and taste buds. Whether you’re a seasoned entertainer or a first-time host, the process can be simple and fun when broken into a few clear steps. In this guide, we’ll walk you through 5 steps to creating a charcuterie board that’s both Instagram-worthy and irresistible.
Step 1: Choose the Right Base
The base of your charcuterie board sets the stage for everything else. While you can use any large, flat surface, a wooden board or marble slab is the most popular choice for its rustic yet elegant appearance.
Things to consider when selecting your board:
Material: Wood creates warmth, marble keeps things cool, and slate offers a modern touch.
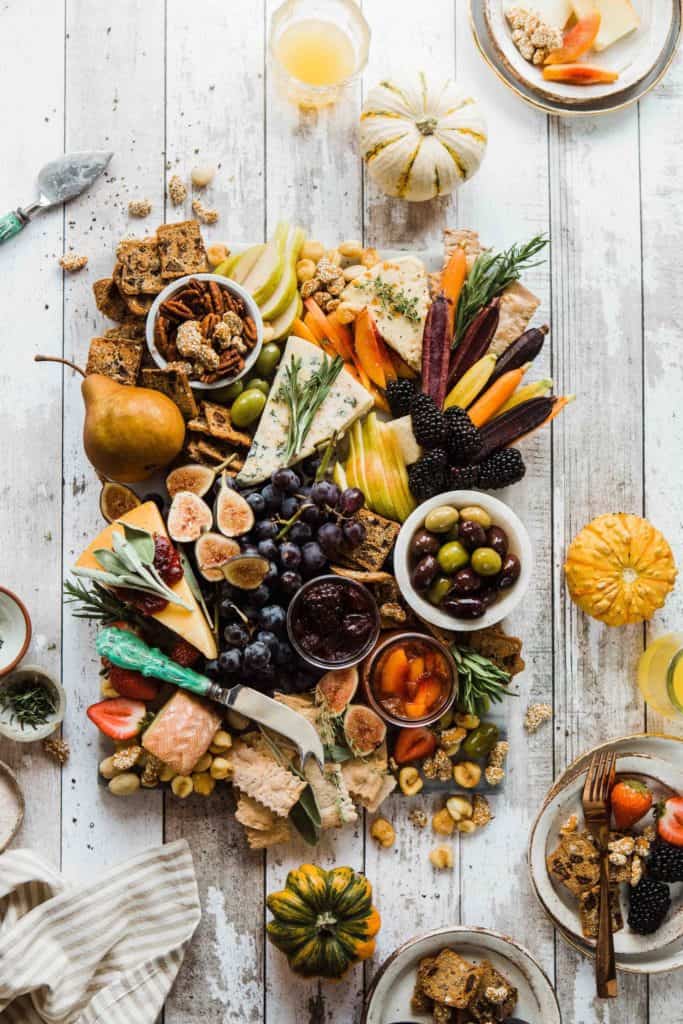
Shape: Round, square, or rectangular, choose one that suits your style and the space available.
If you don’t have a dedicated charcuterie board, a cutting board or even a large serving tray will do. Just make sure it’s clean, food-safe, and sturdy enough to hold all your ingredients.
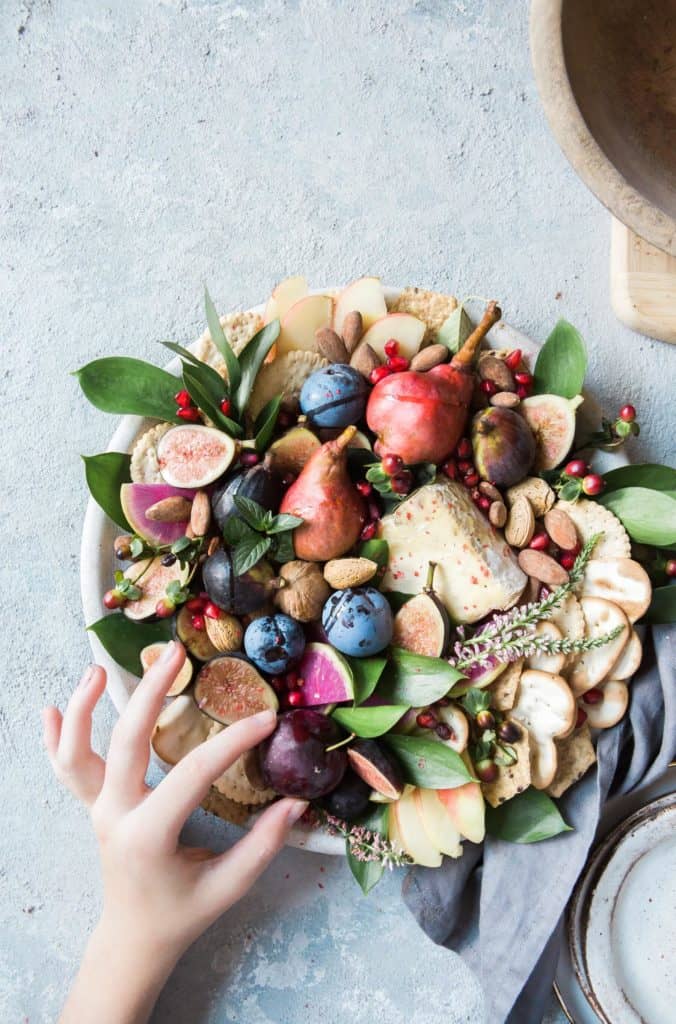
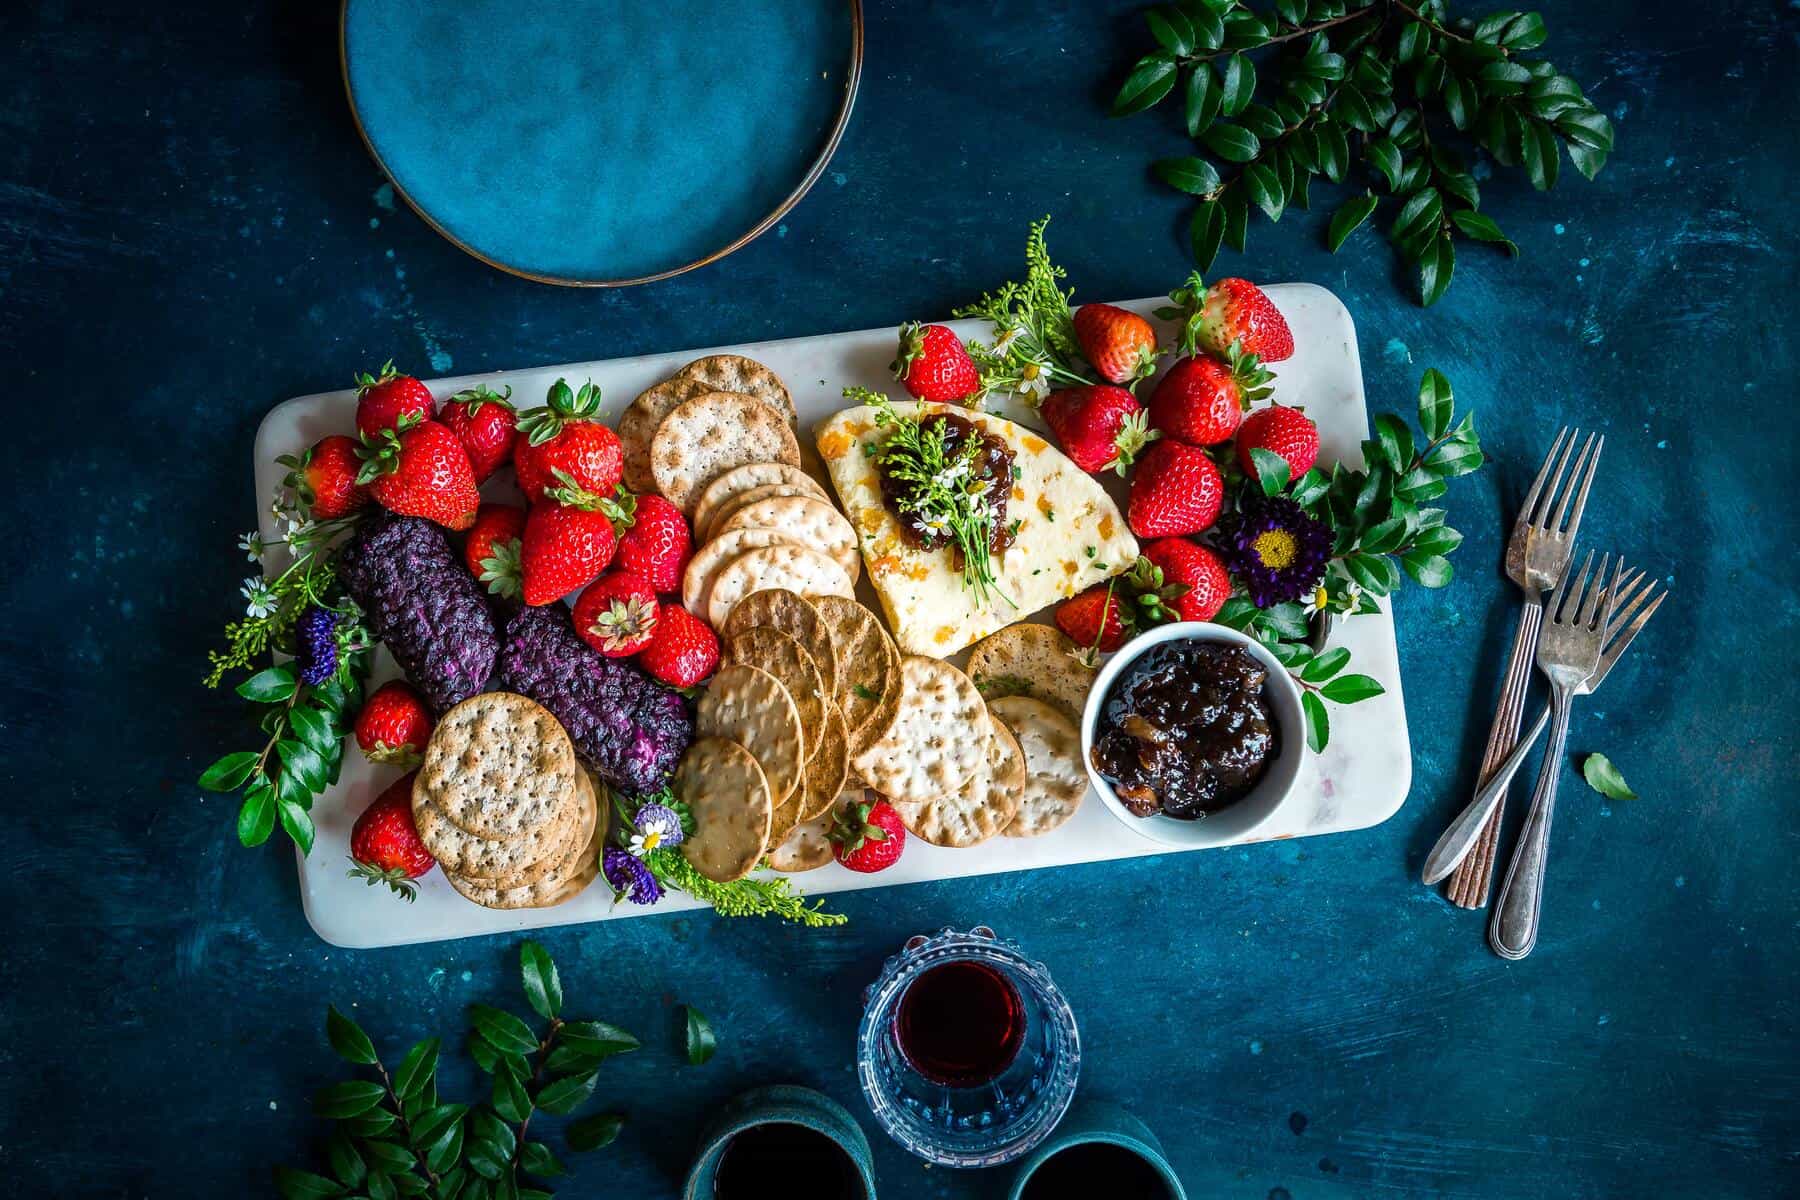
5 Steps to a Perfect Charcuterie Board
Step 2: Select a Variety of Meats and Cheeses
The heart of any charcuterie board is its meat and cheese selection. This is where you create depth and variety for your guests. Aim for a mix of flavors and textures to please every palate.
For meats, consider:
Salami: Mild or spicy, sliced thin for easy eating
Prosciutto: Delicate, salty, and perfect for pairing with fruit
Soppressata or Chorizo: Bold and flavorful for a stronger bite
For cheeses, aim for variety:
Soft: Brie, Camembert, or goat cheese
Semi-soft: Havarti, Fontina, or young Gouda
Hard: Aged Cheddar, Manchego, or Parmesan
A good rule of thumb is to include at least three types of cheese and two to three types of meat. Arrange them across the board to create balance and avoid crowding any single section.
Step 3: Add Fresh and Dried Fruits
Fruits add natural sweetness and color to your charcuterie board, creating a contrast to the saltiness of the meats and richness of the cheeses. Fresh fruits bring a juicy, refreshing bite, while dried fruits add chewy texture and concentrated flavor.
Fresh fruit ideas:
- Grapes (classic and easy to eat)
- Apple or pear slices (brush with lemon juice to prevent browning)
- Fresh berries like strawberries, blueberries, or raspberries
- Figs (when in season) for a gourmet touch
Dried fruit ideas:
- Apricots for a sweet-tart bite
- Dates for natural caramel flavor
- Cranberries or cherries for tanginess
Spread fruits throughout the board to add pops of color and keep the visual balance.
Step 4: Include Crunch and Spread Options
A charcuterie board isn’t complete without some crunchy elements and spreads to tie everything together. These additions help create variety and allow guests to customize each bite.
Crunchy options:
- Crackers (round, square, or artisan-style)
- Sliced baguette or crostini
- Breadsticks for an elegant touch
- Pretzels for a fun twist
Spread options:
- Honey for drizzling over cheese
- Fig jam or apricot preserves for sweet-savory combinations
- Whole-grain mustard for a tangy kick
- Hummus or tapenade for savory dips
Tip: Place spreads in small ramekins or jars to prevent mess and keep the board looking neat.
Step 5: Arrange with Style
The final step is presentation, and this is where your creativity shines. A charcuterie board should look abundant and inviting, encouraging guests to explore and sample.
Arrangement tips:
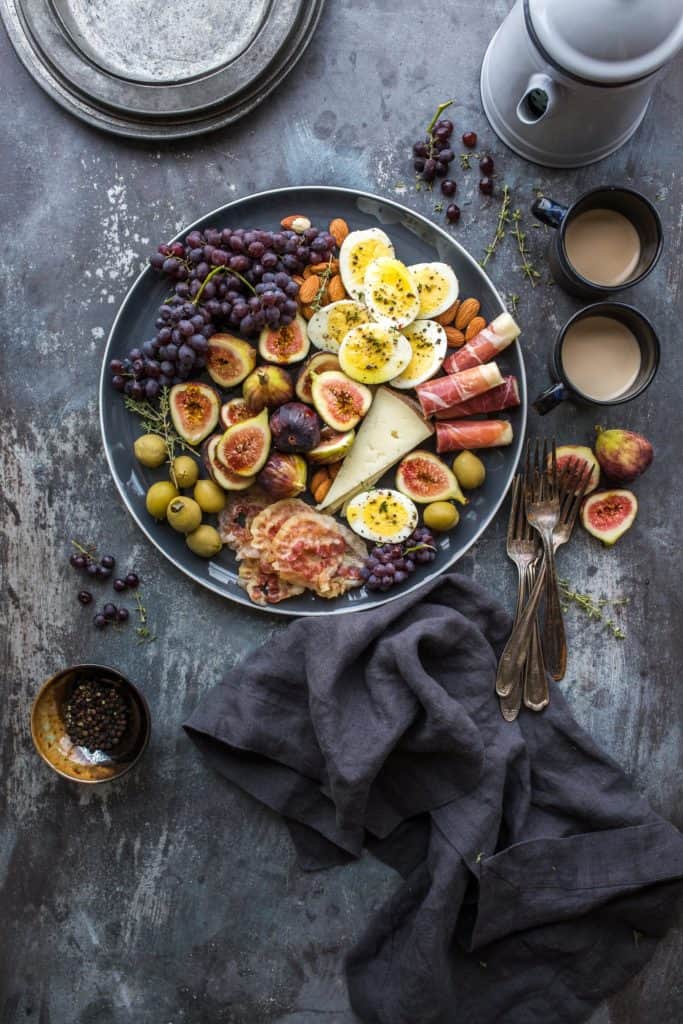
- Start with your largest items (cheese wedges, ramekins) and space them evenly across the board.
- Add meats, folding or fanning slices for visual appeal.
- Fill in gaps with fruits, nuts, and small snacks.
- Use color contrast to guide the eye, place bright fruits next to pale cheeses, and dark meats near light crackers.
- Don’t be afraid to let things overlap, it creates a sense of abundance.
Finally, garnish with fresh herbs like rosemary or thyme for a fragrant and polished finish.
Conclusion:
Creating the perfect charcuterie board is as much about creativity as it is about flavor. By carefully selecting a variety of meats, cheeses, fruits, and accompaniments, and presenting them beautifully, you can transform a simple snack into a show-stopping centerpiece for any occasion.
The beauty of a charcuterie board is its flexibility. You can tailor it to your guests’ tastes, seasonal produce, or even a specific theme. Whether you opt for a classic spread with traditional meats and cheeses or a modern twist with plant-based alternatives and exotic flavors, the result will be uniquely yours.
So, next time you’re hosting, skip the complicated recipes and let a thoughtfully crafted charcuterie board take center stage. With these five steps, you’ll have everything you need to impress your guests, spark conversation, and create a memorable dining experience that’s as delightful to look at as it is to eat.

